

How to Make a Veil With a Headband
Make your own wedding veil
by: Chica
This post may contain affiliate links and we may be compensated if you make a purchase after clicking them.

As you plan your wedding, you'll fast discover that most wedding-related things are quite expensive, and you can easily overspend almost without realizing it. One of the surprise costs as you shop for your wedding day attire is the veil, which can easily cost a couple hundred dollars for the simplest of designs. Before you casually add a veil on to your wedding gown purchase, consider making it yourself. With as little as $10 in supplies and an hour or two, you can create your own veil that suits you to a tee.
DIY wedding veil video tutorial
If you're a visual person who likes to see things in action, check out our video tutorial showing you how to make your own DIY wedding veil. In this demonstration, I make a scaled-down version of the veil to keep everything small enough to fit on my table and in front of the camera, but you can easily apply this technique to create a veil of any size.
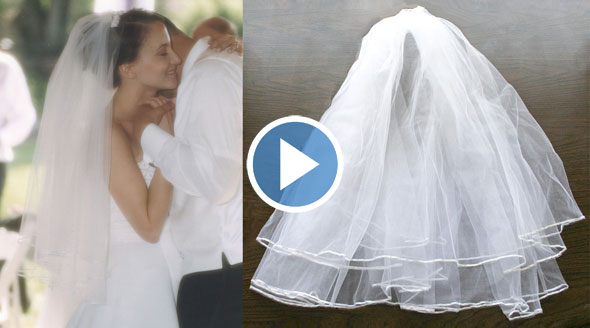
If you can't see the video, try viewing it directly on YouTube.
DIY wedding veil step-by-step photos
If you like to slow things down, then you'll enjoy this step-by-step tutorial that you can print out or reference on your tablet while you work!
The main thing you'll need, of course, is some tulle (a.k.a. netting). This is available in any fabric store and can be found in 72" and 108" widths. For a fuller veil, use the 108" wide tulle. The length of fabric you'll need will vary depending on your desired veil length. Measure from the top of your head to where you want the veil to end and double that length. For example, a typical fingertip-length veil will be between three and four feet long, so you'll need 6 to 8 feet (2 to 2-1/2 yards) of tulle.
Lay the tulle out on a large table (or a clean floor) and keep it folded in half lengthwise (this is how it was at the store). Put the folded edge nearest to you. At this point you have two layers of tulle.
Now fold the tulle in half crosswise by grabbing the rightmost edge and folding it over so that it touches the leftmost edge. At this point you have four layers of tulle.
Measure again how long you want the tulle to be (from the top of your head down) and cut the tulle to that length (keep it folded) if needed.
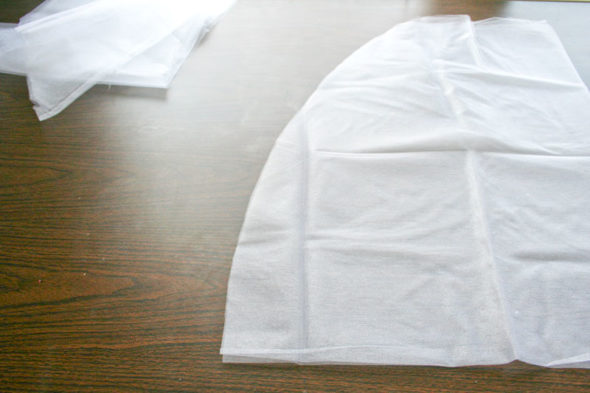
Now round off the top left edge of the fabric by pinning to mark it and then cutting in a smooth motion. If you need a guide, try a large serving platter. You want to be left with a quarter-circle shape:

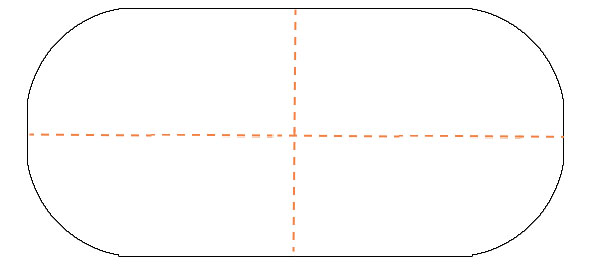
Unfold the tulle completely. At this point you have one layer of tulle. The dashed orange lines below show where the folds used to be:
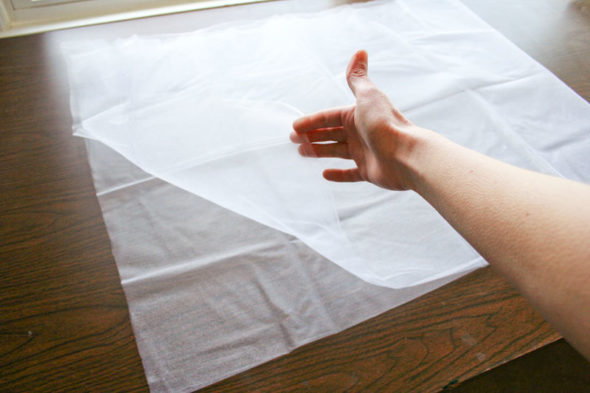
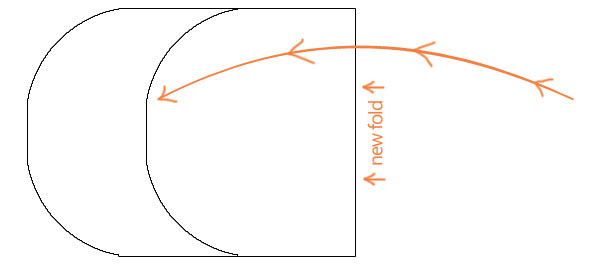
Fold the tulle crosswise from right to left, but you don't have to bring it all the way over. You can match the ends up for a single-length veil, or you can leave a few inches between the edges for a nice layered look. If you keep a shorter layer, it can be used as a blusher if you like. At this point you should verify that the length is exactly what you want and if it's too long, cut one of the rounded ends shorter, as needed.
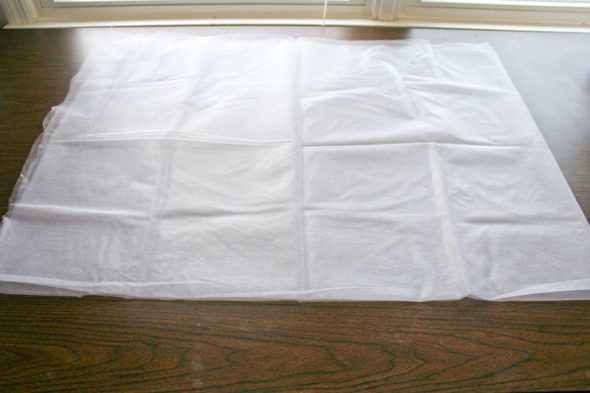
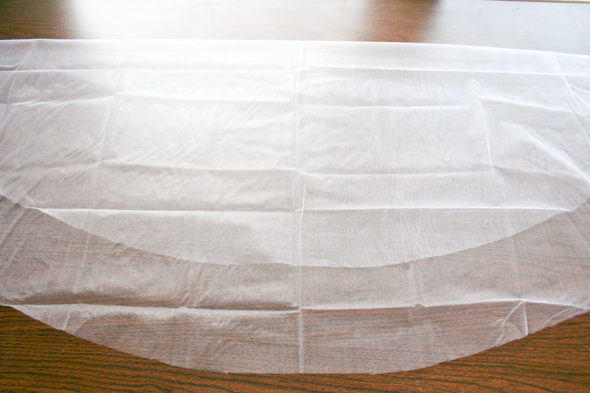
Turn the veil 90 degrees so that the folded edge is at the top, farthest away from you, and the open rounded edges are closest to you. Don't be surprised if the veil seems wider than it is long, especially if you are using a really wide tulle or making a fairly short veil. Once you gather it all up in the following step, the proportions will make a lot more sense.
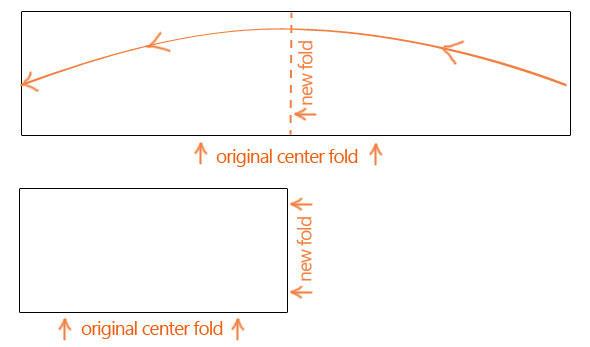
You will now have to decide whether or not you want the side edges of your veil's two layers to come all the way up to the top. If you choose to have the edges come up to the top, the top of your veil will be fuller and puffier. This decision is particularly noticeable if you plan to put a ribbon trim on the edges, because the ribbon will clearly be only at the bottom or will go up to your head, depending on your choice. This diagram illustrates the two variations:

Once you choose from these two styles, you will be ready to gather the top of your veil. Depending on your choice, you will either gather up only the center portion of your tulle (diagram on left), or you'll gather the entire width of the tulle (diagram on right).

Once you have decided how much tulle to gather, do so with a needle and strong thread, weaving in and out with small stitches.
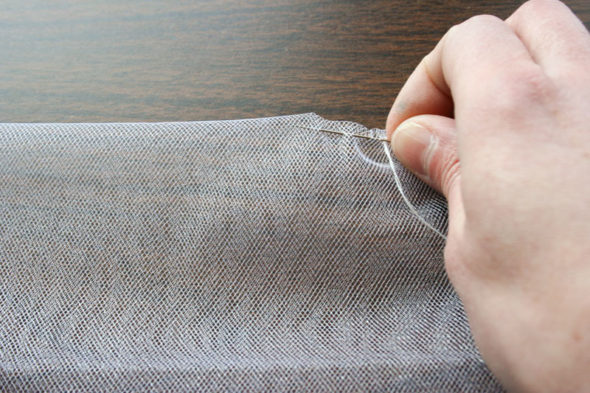
Pull the thread to gather the stitched tulle so that it is only about 2 inches wide. Knot the thread securely.
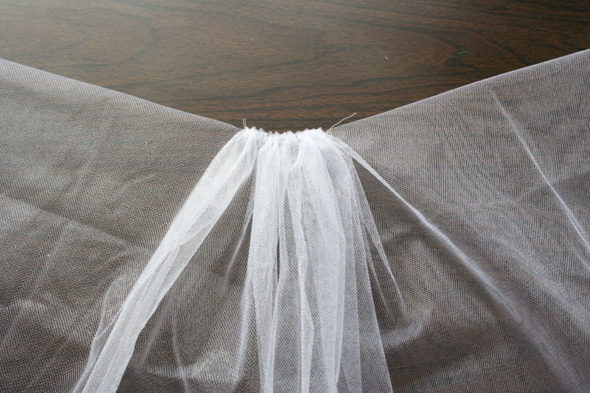
This veil was gathered in the middle only, so there is no stitching on the sides.
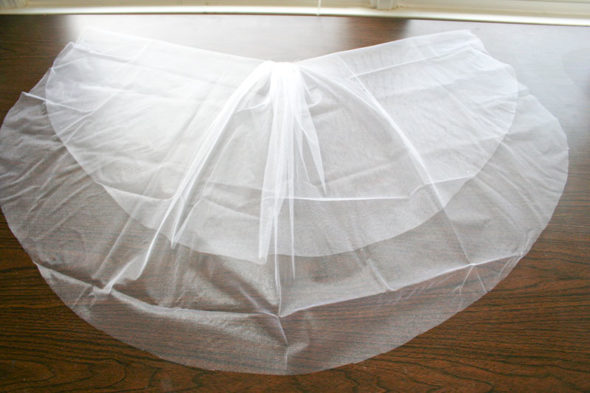
Hold the tulle by the gathered area and give it a gentle shake, which will allow the sides to fall gracefully down with the rest of the tulle.

Now take your gathered portion of tulle and sew it securely to either a simple French comb, or a barrette if you prefer.
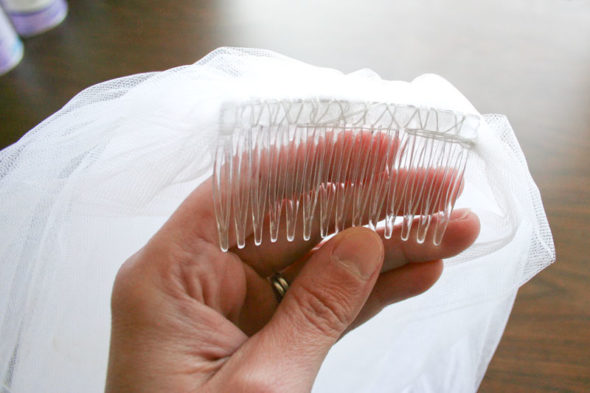
You can still wear a fancy tiara or decorative barrette if you like, by just placing it right in front of your veil on your head. Depending on your tiara's style, you may be able to sew the veil directly to it. You can also sew silk flowers or ribbons to the comb to decorate it.
Your veil is ready to wear at this point, but you may want to decorate it further. A popular finishing touch is to sew a thin satin ribbon along the edges of the veil. You can do so easily with a sewing machine and some white thread.
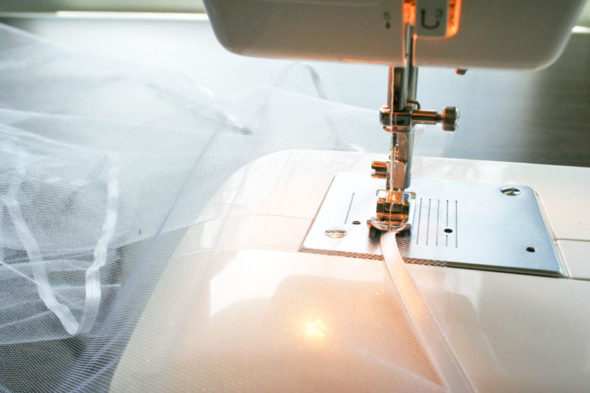
When sewing, don't bother to try to get the ribbon right up against the end of the tulle -- it's far easier to just leave some extra and then come back and trim it later.
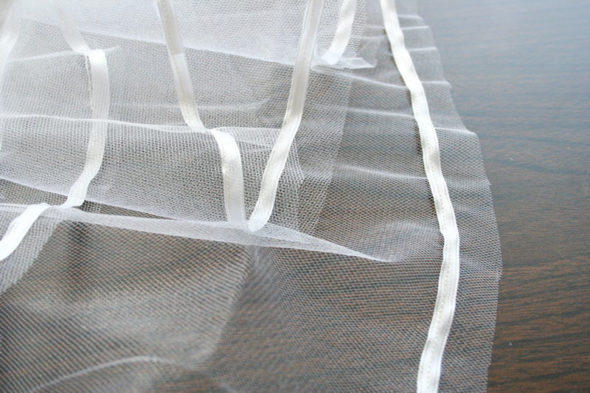
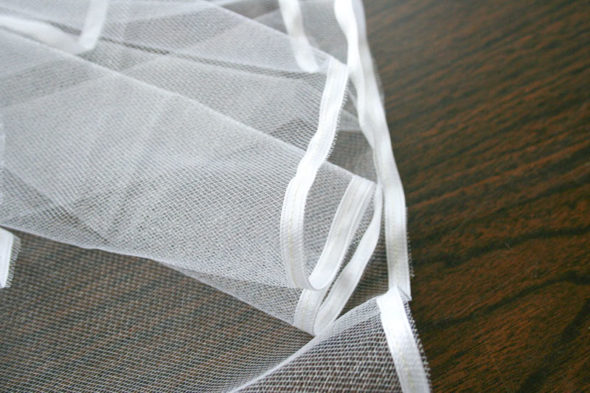
Now go back with scissors and trim the excess tulle right next to the ribbon. And don't worry about trimming it perfectly. I promise that nobody more than 2 feet away from you will even be able to see it!
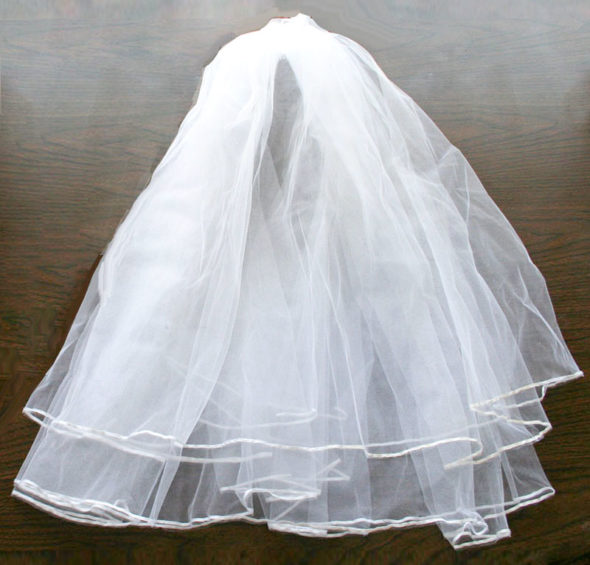
You may also choose to sew or glue tiny sparkling beads or gemstones randomly on your veil. If that's what you like, then do it. It's your veil, so it should be special and exactly the way you want it!
Not only did I make my own veil for my wedding, but made my niece a "play" veil with some leftover tulle, so she could play dress-up bride. I also used this same technique to make her First Communion veil a few years later.
![]()
similar projects
leave a comment:

Hi there! We are Chica and Jo, best friends who love to create whenever we can. From fun DIY projects to elaborate parties to delicious recipes, you're sure to find ideas that will inspire you. Take a look around and follow us @chicaandjo to see what we're up to today.
looking for something?


How to Make a Veil With a Headband
Source: https://www.chicaandjo.com/make-your-own-wedding-veil/
0 Response to "How to Make a Veil With a Headband"
Post a Comment